The Smartsolar Installation Guide focuses on helping you harness renewable energy by setting up a Victro’sn MPPT Smartsolar 100 30 system. With solar power gaining popularity as an efficient and sustainable energy source, this guide offers detailed, step-by-step instructions tailored for homeowners and businesses alike. Proper installation reduces energy bills and contributes to a greener environment. The guide covers everything from preparation and planning to final checks and maintenance, ensuring you comprehensively understand the process. Whether you’re new to solar energy or looking to upgrade your existing setup, this guide aims to make the installation process straightforward and manageable.
Preparation and Planning of Victron mppt Smartsolar 100 30
Before installing, assess your energy needs by calculating your average daily energy consumption. This will help determine the number of solar panels required. Choosing the appropriate Smartsolar model is crucial; the Victron mppt Smartsolar 100 30 is ideal for small to medium-sized installations.
Make sure it meets your energy requirements before proceeding. Next, plan the layout of your solar panels and system components. Consider the panels’ orientation and tilt to maximise sun exposure. Ensure all necessary permits and approvals are obtained from local authorities. Proper preparation and planning are vital for a successful and efficient installation process.
Gathering Necessary Equipment of Victron Smartsolar Mppt 100 30
Gather the essential tools and equipment needed for the installation. These include a drill, screwdriver, spanners, wire cutters, and a multimeter. It’s vital to prioritise safety using protective gear such as gloves, safety goggles, and a helmet. Tools and protective equipment ensure a safer and more efficient installation process.
Additionally, ensure you have the appropriate wiring, connectors, and mounting hardware specific to the Victron Smartsolar Mppt 100 30. Familiarising yourself with the installation manual and safety guidelines can prevent accidents and ensure a smooth setup.
Choosing the Installation Site
Choosing an optimal installation site involves evaluating sun exposure throughout the day, aiming for minimal shading from trees or buildings. Assess the roof’s angle and orientation to maximise solar capture. Structural integrity is paramount; ensure the roof or ground can support the weight of the solar panels and mounting hardware.
Additionally, consider local weather conditions, such as wind loads, that could affect the system’s stability. It’s also wise to account for future obstructions like growing trees or new buildings that may cast shadows on your panels. This careful site selection process ensures maximum energy efficiency and long-term performance of your Smartsolar system.
Mounting the Solar Panels of Mppt 100 30 Victron Energy
Begin by installing the mounting brackets securely to your chosen site. Ensure the brackets are fastened properly to provide stability for the solar panels. Next, align the solar panels with the brackets and secure them using the appropriate hardware.
Adjust the panels to the correct Mppt 100 30 Victron Energy angle to maximise sunlight capture, considering seasonal variations in sun position. It’s important to follow the manufacturer’s instructions to ensure the panels are mounted correctly and safely. Double-check all fittings and fastenings to confirm that everything is secure before moving on to the next step in your installation process.
Electrical Connections
With the panels securely mounted, proceed with the electrical connections. Start by linking the panels in series or parallel according to your system design. Ensure all connections are well-insulated and properly tightened to avoid any electrical faults.
Use the appropriate wiring and connectors specific to the Victron’s MPPT Smartsolar 100 30. Next, connect the wired panels to the inverter, following the manufacturer’s guidelines. Verify that the polarity is correct to prevent damage to the system. Finally, perform a continuity test with a multimeter to ensure no faults or loose connections in the wiring. This step ensures that the electrical setup is safe and functional.
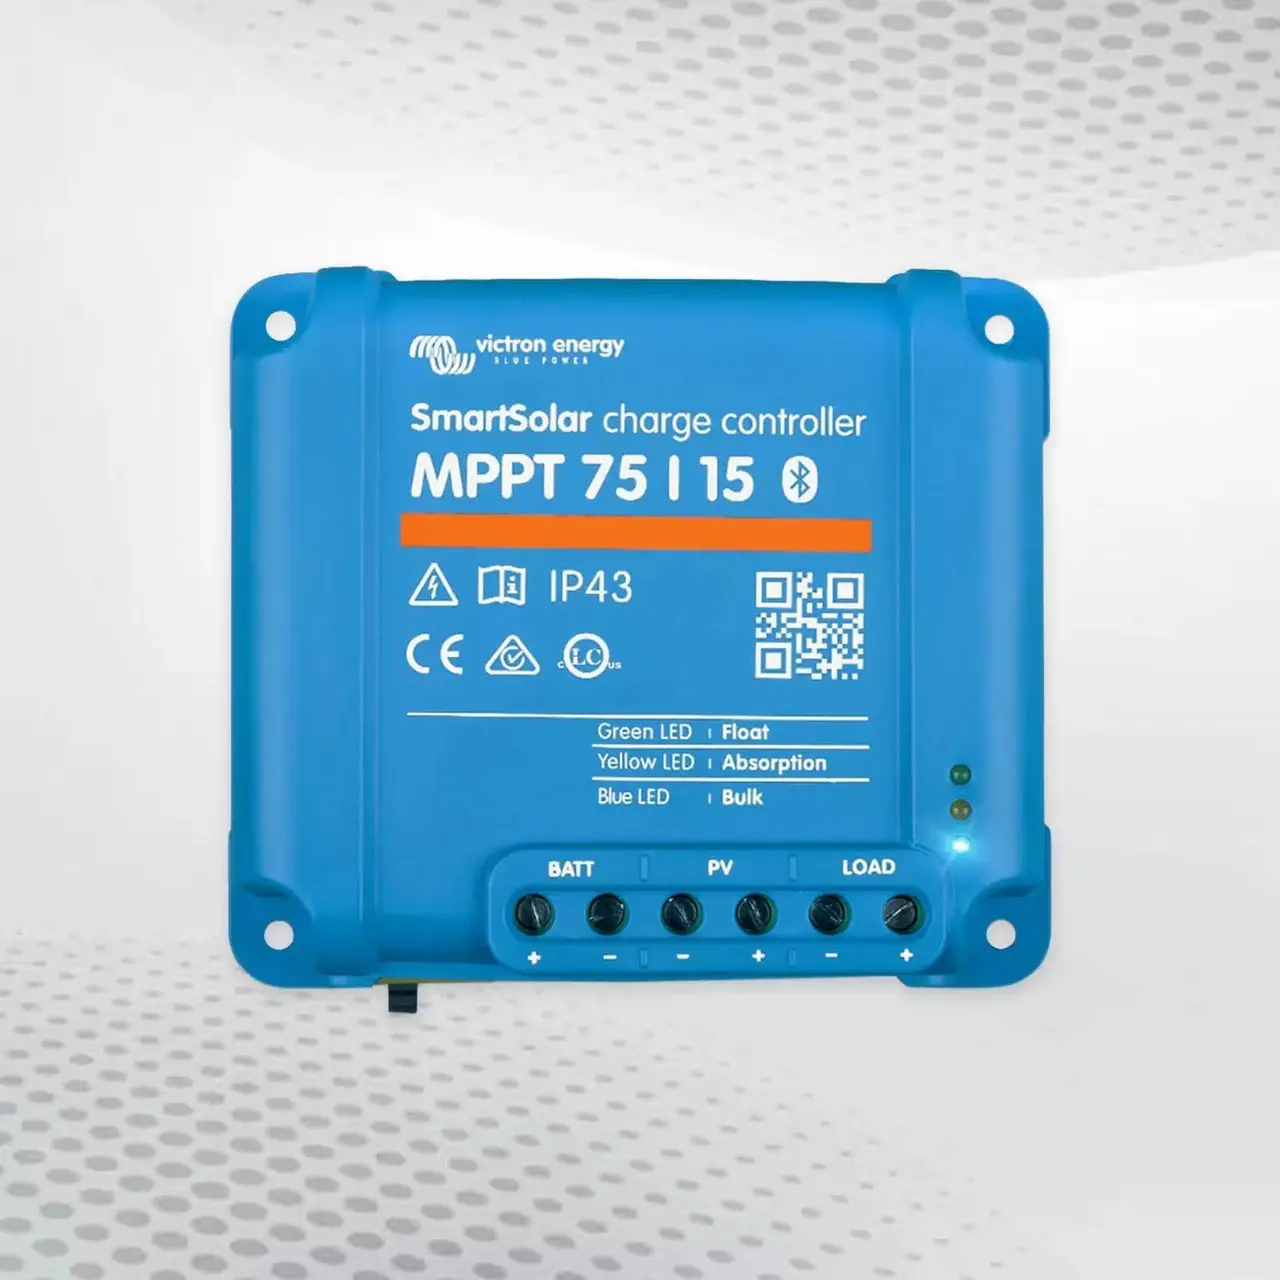
Setting Up the Victron Energy Mppt 100 30
Ensure the Victron Energy Mppt 100 30is placed in a well-ventilated area to avoid overheating. Begin by connecting the inverter to the solar panel array, following the wiring diagram provided by the manufacturer. Pay close attention to the polarity of the connections to avoid damaging the equipment. Next, access the inverter’s settings using the built-in display or a compatible app.
Configure the system parameters such as battery type, voltage settings, and charging profiles based on your specific setup. Verify all connections are secure and double-check the settings to match your energy requirements. Finally, perform a test run to ensure the inverter operates correctly, monitoring for any error messages or irregularities.
Connecting to the Grid
Before integrating with the grid, ensure all system components meet local electrical codes. Engage a qualified electrician to perform the final grid connection. This process typically involves connecting the inverter to the main electrical panel and installing a bi-directional meter to monitor energy flow.
Double-check that your Smartsolar system’s inverter settings are configured for grid-tie operation. Conduct a series of tests to confirm the system synchronises correctly with the grid. Inform your local electricity supplier about your installation and provide them with any required documentation for grid connection approval.
Smartsolar Monitoring System
The Smartsolar monitoring system allows you to track your solar energy production and consumption through a user-friendly interface. After installation, download the Smartsolar app or access the web portal to configure the monitoring system. The dashboard provides comprehensive data, including energy generation, usage patterns, and system efficiency. Set up alerts for system faults or performance issues to ensure timely maintenance. Regularly reviewing this data can help optimise energy usage and identify potential improvements. Additionally, historical data analysis can assist in evaluating the long-term performance of your Smartsolar system.
Final Checks and Testing
Conduct a comprehensive review of the system to confirm all connections are secure and components are correctly installed. Start by inspecting the wiring and ensuring no loose or exposed wires. Use a multimeter to verify continuity and check for any voltage drops. Test each solar panel’s output to confirm they generate the expected energy amount. Check the inverter settings to ensure they align with your system specifications. Perform a full system start-up and monitor for any error messages or irregularities. Finally, verify that the monitoring system displays data correctly and set up any necessary alerts. This rigorous testing phase is essential to confirm the system operates as intended.
Maintenance and Troubleshooting
Regular maintenance ensures optimal performance of your solar system. Begin by visually inspecting the solar panels for any signs of damage or obstruction. Clean the panels gently using a soft brush or cloth and soapy water to remove dirt and debris. Avoid using harsh chemicals or abrasive materials that could damage the surface. Check all electrical connections periodically to ensure they remain tight and corrosion-free. Use a multimeter to test the voltage output and compare it against expected values to identify discrepancies.
For troubleshooting, refer to the user manual for guidance on error codes displayed by the inverter. Common issues may include low energy output, which could result from shading or dirty panels. Inspect the wiring and connections for faults if the system fails to start. Ensure the inverter settings are correctly configured. If you encounter persistent issues, it is advisable to consult with a professional technician who can diagnose and address more complex problems.
Conclusion
By adhering to this Smartsolar installation guide, you’ve taken significant steps towards harnessing renewable energy. The Victron MPPT Smartsolar 100 30 system offers a robust solution for residential and commercial energy needs. You can ensure that your solar system performs at its peak efficiency through careful preparation, proper installation, and diligent maintenance. Regularly monitoring the system using the Smartsolar app or web portal will allow you to track energy production and promptly address any issues. Investing time in the installation process helps you achieve energy independence and contributes positively to environmental sustainability. By following these instructions and tips, you’re well-equipped to enjoy the long-term benefits of your solar energy system.
FAQs
1. What are the basic steps for installing a Smartsolar system?
- The basic steps include mounting the solar charger, connecting the battery, wiring the PV array, grounding the system, and making the electrical connections. Each step should be followed carefully to ensure proper installation and safety.
2. How do I mount the solar charger?
- Mount the solar charger vertically on a non-flammable substrate, with the electrical terminals facing downwards. Ensure a minimum clearance of 10cm under and above the charger for optimal cooling1.
3. What safety precautions should I take during installation?
- Always disconnect the main battery before starting the installation. To avoid electrical hazards, wear protective gear, work in a well-ventilated area, and follow the manufacturer’s safety guidelines1.
4. How do I connect the battery to the solar charger?
- Connect the battery supply to the solar charger using appropriate wiring and ensure the connections are secure. A fuse must protect the battery supply as per the manufacturer’s specifications1.
5. What should I consider when wiring the PV array?
- Ensure the PV array configuration meets the required voltage and current specifications. The maximum open circuit PV voltage should not exceed 100V, and the nominal PV voltage should be at least 5V higher than the battery voltage1.
6. How do I verify that the installation is correct?
- After completing the installation, turn on the system and monitor the voltage and current readings to ensure they are within the expected range. Check for any error messages on the display and consult the user manual for troubleshooting tips.