In today’s digital age, managing and storing documents efficiently is essential. Whether you’re a small business owner, a student, or just someone who wants to go paperless, the ability to scan multiple documents into PDFs and automatically upload them to Dropbox can save you a lot of time and hassle. This guide will show you how to do just that, right here in the USA.
Why Go Paperless?
Going paperless has numerous benefits:
- Accessibility: Access your documents from anywhere, anytime.
- Organization: Keep your documents neatly organized without physical clutter.
- Security: Protect your documents with digital encryption and secure cloud storage.
- Environmental Impact: Reduce your carbon footprint by cutting down on paper use.
What You Need
To get started, you’ll need a few tools:
- A Scanner or a Smartphone with a Scanning App: Many modern printers come with built-in scanners. Alternatively, you can use your smartphone with apps like Adobe Scan, CamScanner, or Microsoft Office Lens.
- A Computer or Mobile Device: To manage your files and upload them to Dropbox.
- Dropbox Account: If you don’t already have one, sign up for a Dropbox account.
- Automation Software: Tools like IFTTT (If This Then That) or Zapier can automate the upload process.
Step-by-Step Guide
Step 1: Scan Your Documents
Using a Scanner
- Prepare your documents: Ensure they are neatly stacked and free of staples or clips.
- Place documents in the scanner: Follow the instructions of your scanner model.
- Select scan settings: Choose PDF format, and if possible, select “Multi-page” mode.
- Scan: Start the scanning process. Save the scanned documents to a folder on your computer.
Using a Smartphone
- Install a scanning app: Adobe Scan, CamScanner, or Microsoft Office Lens are great options.
- Open the app: Follow the on-screen instructions to scan your documents.
- Save as PDF: Most apps will allow you to save the scanned images directly as a PDF.
Step 2: Upload to Dropbox
You can upload files to Dropbox manually or automate the process.
Manual Upload
- Open Dropbox: On your computer or mobile device, open the Dropbox application or go to the Dropbox website.
- Upload Files: Drag and drop the scanned PDF files into your Dropbox folder or use the upload function within the app.
Automated Upload
- Sign up for IFTTT or Zapier: Create an account on one of these automation platforms.
- Create a New Applet or Zap: Choose Dropbox as the destination.
- Set Trigger: For example, you can set the trigger to be when a new file is added to a specific folder on your computer.
- Set Action: Choose the action to upload the file to a specific Dropbox folder.
- Activate the Applet or Zap: Turn it on and let the automation take over.
Step 3: Organize Your Dropbox
- Create Folders: Organize your PDFs into folders by category, date, or project.
- Use Tags and Naming Conventions: Name your files and folders in a way that makes them easy to find later.
- Share and Collaborate: Share folders or documents with colleagues or family members as needed.
Tips for Effective Document Management
- Regular Scanning: Set a schedule to scan and upload documents regularly to avoid backlog.
- Backup: Keep a backup of your important documents in another cloud service or external hard drive.
- Security: Use strong passwords and enable two-factor authentication on your Dropbox account.
Conclusion
By scanning your documents to PDFs and uploading them to Dropbox, you can streamline your document management process and ensure your important files are always accessible and secure. With the right tools and a little automation, going paperless has never been easier.
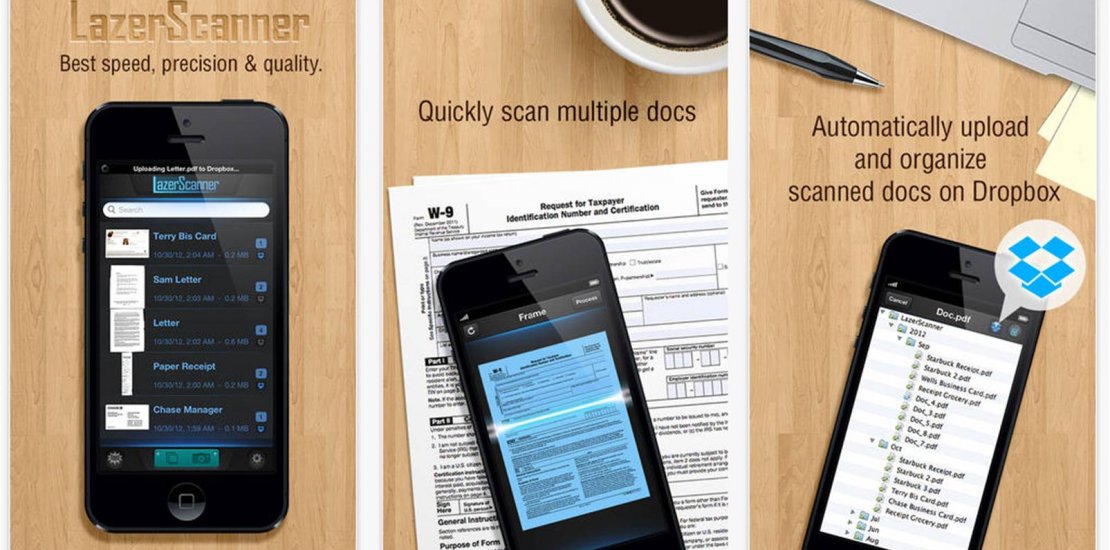
More Information: Scan Multiple Docs to PDFs & Auto Upload to Dropbox