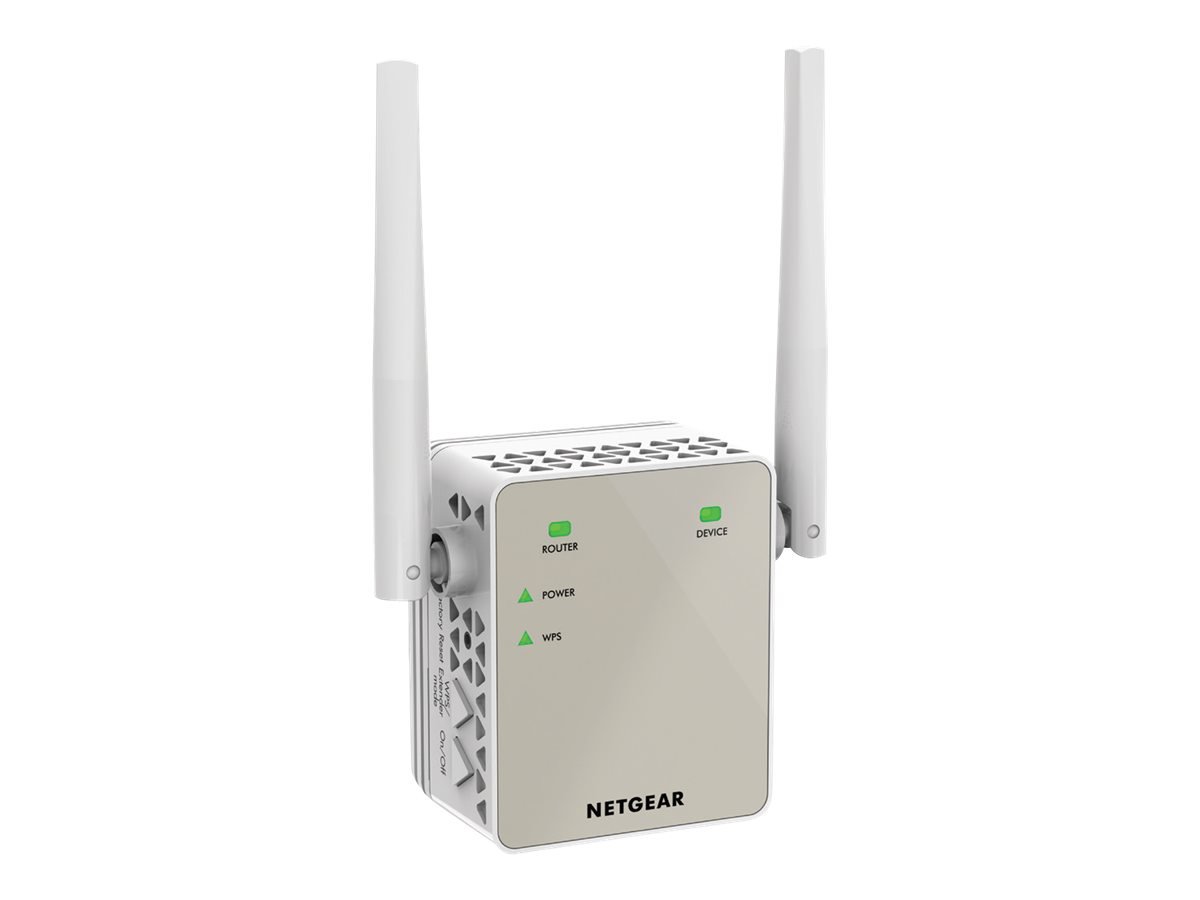
The mywifiext is a setup wizard for the Netgear extenders which is used to install the device or manage its settings. There are majorly two pathways to reach the login interface. one is through the URL mywifiext.net and IP address 192.168.1.250. Both the ways will take you to the same login page but which one is better.
Let’s find out in this comparison guide. Remember, they both go to the same place — kind of. But only one will work for Netgear extender setup, depending on how you’re connected.
Here’s what’s actually going on:
- mywifiext.net is not a real website. It only works locally, and only if you’re connected to the extender’s network.
Like, literally. Your device (phone, laptop, whatever) needs to be connected to the extender’s WiFi — that temp Netgear network it broadcasts during setup. - 192.168.1.250 is the extender’s default IP address. It’s also local, but sometimes your router might assign a different IP. So, this might not always work. But when it does, it’s faster.
So, which should you use?
Honestly — use whichever one works. Seriously. If you’re connected to the extender’s WiFi and mywifiext.net loads, awesome. If that fails, try 192.168.1.250. Still nothing? Open your router’s admin page, check connected devices, and look up the extender’s current IP. Punch that into the browser.
Common screw-ups:
- Trying to hit mywifiext.net while connected to your main WiFi = won’t work. It’s not global DNS. It’s local magic.
- Extender isn’t powered on or fully booted = no dice. Wait like 60–90 seconds after plugging it in.
- Using mobile data or VPN = nope. Disconnect from that.
If you’re doing this from your phone and it’s being a pain, try using a laptop with an Ethernet cable if your extender has a port. It’s usually way smoother that way.
Now have a look how to use these both of the pathways to reach inside the interface of the Netgear extender device.
How to Use Mywifiext.net?
- Wait for the power LED to go solid green (or whatever color yours uses when it’s ready — sometimes amber/yellow). Don’t rush this. Some of these take a full minute or more to fully boot.
- Open WiFi settings on your laptop or phone. Look for a network name like NETGEAR_EXT or something similar. Connect. No internet yet.
- Go to: mywifiext.net. Don’t add “www.” and don’t freak out if it redirects to some 192.168. address — that’s part of the setup.
- You’ll get walked through a setup wizard. It’ll scan for nearby WiFi networks — pick your main WiFi. Enter your main WiFi password when it asks. Double-check it. This step screws up a lot of people.
- Then name the extended network (you can keep it the same or add “_EXT” or whatever). After setup, it might reboot. Reconnect to the new extended network once it’s live.
How to Use IP 192.168.1.250?
Plug the Netgear extender in to the wall outlet near your router and turn it on. you can also connect it with the router via WPS connections.
Open Chrome/Firefox/Edge/etc. Go to: 192.168.1.250. If it’s a web interface, it should load. If it just hangs? Either the device doesn’t have a web UI or it’s not up.
In terminal/cmd: ping 192.168.1.250. If you get replies — good. Device is alive. If it times out — either it’s off, blocked by firewall, or not connected.
This tells you what services are running. Web interface? SSH? FTP? Whatever.
Most devices have default creds. Try:
-
- admin / admin
- admin / password
- Or check the manual/sticker on the device.
Change it immediately if it works.
Final Thoughts
Learning the Negear Nighthawk WiFi range extender setup is easy and simple because of the mywifiext Genie wizard user-friendly interface. We know that this guide has been really helpful for you to find out which pathway is better to reach the interface on your computer.