Strawberry jam is one of the sweetest and simplest ways to enjoy fresh strawberries. It brings the bright taste of summer into any season. This blog will show readers how to make strawberry jam at home using only a few ingredients and easy steps. Whether someone is making it for the first time or has done it before, this guide will help create delicious, homemade jam that tastes just like sunshine in a jar.
Choosing the Best Strawberries for Homemade Jam
The most important part of any strawberry jam is the strawberries themselves. Picking the right ones makes all the difference in flavor and texture.
Fresh and Ripe is Best
Strawberries should be red all over with no white or green spots. Ripe berries are softer and sweeter, which makes the jam taste better. Overripe berries may be too soft, but they still work well in jam as long as they are not moldy.
Washing and Preparing the Fruit
Before starting, wash the strawberries gently and remove the green tops. Then, cut them into small pieces. This helps them cook faster and break down easily while simmering.
The Simple Ingredients and Cooking Process
Making strawberry jam at home does not need special tools or long lists of ingredients. It can be done on a regular stove with a regular pot.
Ingredients Needed
- 4 cups chopped fresh strawberries
- 2 cups granulated sugar
- 2 tablespoons lemon juice
These three simple ingredients are all it takes to make a bright and flavourful homemade jam. The sugar helps preserve the jam and makes it sweet. The lemon juice adds balance and helps the jam set.
Cooking the Jam
Place the strawberries, sugar, and lemon juice in a large pot. Stir everything together over medium heat. As the strawberries begin to cook, they will release juice and soften.
Let the mixture boil gently while stirring often. After about 20 to 25 minutes, the jam should thicken. To test it, put a small spoonful on a cold plate. If it wrinkles slightly when touched, it’s ready.
Storing and Enjoying the Finished Jam
Once the strawberry jam is ready, it can be stored and used in many tasty ways.
Safe Storage Methods
Pour the warm jam into clean glass jars. Make sure the jars are dry and free of cracks. Seal the jars with tight lids and let them cool at room temperature. The jam will thicken more as it cools.
For longer storage, keep the jars in the fridge for up to three weeks. If properly canned using water-bath methods, the jam can last even longer.
Ways to Use the Jam
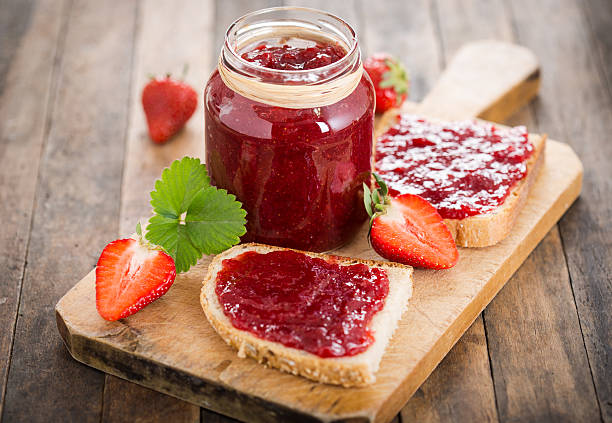
Strawberry jam is perfect on toast, pancakes, or stirred into yogurt. It also makes a great filling for cakes or cookies. Some people even enjoy it on cheese and crackers. No matter how it is used, homemade jam adds a touch of summer to every bite.
FAQs
Can I use frozen strawberries instead of fresh?
Yes, frozen strawberries can be used, but they may have more water. Just cook them a little longer to get the right texture for the strawberry jam.
Why didn’t my jam set properly?
Sometimes jam needs more cooking time. If it’s still runny after cooling, it can be reheated and boiled for a few more minutes.
Is it okay to reduce the sugar?
Yes, but reducing sugar may change the texture and shelf life. Less sugar means the homemade jam may be softer and should be eaten sooner.
Do I need pectin to make strawberry jam?
No, pectin is not needed for this simple recipe. The lemon juice and natural fruit pectin are enough to help it set.
Conclusion
Strawberry jam is a sweet, simple way to capture the fresh taste of summer. By choosing ripe strawberries and following this easy recipe, anyone can make homemade jam that tastes delicious. Whether it’s spread on toast or added to a dessert, this strawberry jam is sure to bring smiles. Making jam at home is not only fun but also a great way to enjoy fruit all year long.