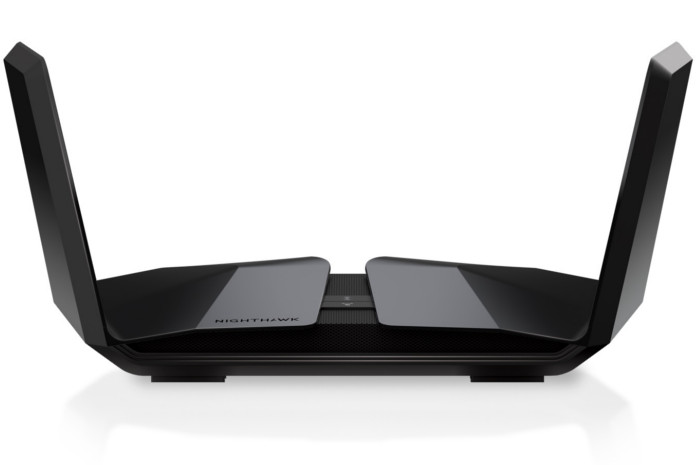
If you’ve already installed the Nighthawk Router app, chances are you’re looking for more control than just checking who’s on your WiFi. Maybe you’re trying to open ports, set up parental controls, or fine-tune your wireless channels. Do you know, what? The Nighthawk app gives you a solid overview, but accessing the advanced settings unlocks a whole new level of customization for your home network.
In this guide, we’ll walk you through exactly how to dive deeper after the app setup—whether you’re using your phone, a browser, or even the Nighthawk app for PC. Plus, we’ll touch on how this would be useful for your Netgear Nighthawk extender if you’ve got one running alongside your router.
First, What’s the Point of Accessing Advanced Settings?
Let’s be real—most of us just want stable WiFi. But sometimes the basic setup doesn’t cut it. Maybe you want to:
- Prioritize gaming traffic
- Block certain websites
- Create a separate network for guests
- Change the DNS for better speed or privacy
- Set static IPs for smart devices
These aren’t available right on the surface of the Nighthawk Router app, but they’re all easily manageable once you step into the advanced side of your router.
Step-by-Step: Getting Past the Basics in the Nighthawk App
Let’s start with the app. You’ve got it on your phone—cool. Here’s how to start digging deeper:
- Open the Nighthawk App and Log In
Make sure your phone is connected to your home WiFi network. Launch the Nighthawk App and log in using your Netgear credentials. This takes you to the dashboard.
- Tap on “Settings”
You’ll see options like WiFi Name, Password, Devices, etc. Scroll a bit and find the “Settings” tab. Tap it.
- Go to “Router Settings”
This is where the magic starts. In “Router Settings,” you can:
- View your current network info
- Restart the router
- Check for firmware updates
- Enable or disable WiFi radios
Still not the deepest level—but a step closer.
- Hit “Remote Management” (Optional)
Want to access your router when you’re not at home? Toggle on Remote Management. This is handy if you want to tweak settings from work or while traveling.
- Tap “Advanced Settings”
Here, you’ll find more meat:
- Port forwarding
- VPN setup
- IPv6 configuration
- Dynamic DNS
This section is where most of the power users hang out. If it feels overwhelming, don’t worry—you can always hit “Help” or just leave the defaults until you’re ready to make a change.
Can You Use the Nighthawk App for PC?
Now let’s clear this up: There isn’t an official Nighthawk app for PC in the same way you have for mobile. But you can absolutely access all the advanced settings from any desktop browser.
Here’s how.
Step 1: Open a Web Browser
Chrome, Firefox, Edge—they all work. Just make sure your PC is connected to the same network as your Nighthawk router.
Step 2: Enter the Router Login URL
Type in either:
http://routerlogin.net
or
http://192.168.1.1
Both lead you to the router login portal.
Step 3: Log In
Use your admin credentials. This is not the same as your WiFi password—it’s usually:
- Username: admin
- Password: password (unless you changed it)
Forgot it? There’s a reset button on the back of your router to bring everything back to factory settings.
Step 4: Explore the Full Dashboard
This is where you get complete access:
- Wireless settings
- Traffic metering
- QoS configuration
- Guest network setup
- NAT filtering
- Static routes
- Access control
There’s no “hand-holding” like in the app, but everything’s labeled pretty clearly.
Using a Netgear Nighthawk Extender? Sync It Too
If you’ve got a Netgear Nighthawk extender set up, don’t forget to check its settings too. Often, people update settings on the router but forget the extender, which can cause network mismatches.
How to Adjust Your Extender:
- Connect to the extender’s WiFi network.
- Open a browser and go to:
- http://192.168.1.250
- Log in using your extender credentials.
- Match settings like:
- SSID and password
- Channel width
- Security type (WPA2/WPA3)
Keeping your router and extender aligned ensures smoother roaming for your devices.
A Few Tips for Navigating Advanced Settings
- Make one change at a time. If something goes wrong, it’s easier to backtrack.
- Take screenshots before editing anything major.
- Keep firmware updated—Netgear pushes important security patches regularly.
- Use WPA3 if available—better encryption = safer browsing.
Conclusion: Take Full Control of Your Network
Particularly in first configuration, the Nighthawk Router app provides a good head start. Once you are comfortable, however, exploring additional settings—through the app or a web browser—allows you total network management.
Accessing advanced options will really enhance your experience whether your priorities are performance optimization, security enhancement, or simply curiosity in what’s beneath the hood. Just go slow, research any strange environments, and you’ll be customizing your Nighthawk like an expert in no time.
Remember also to sync your Netgear Nighthawk extension; otherwise, half of your network might be left behind.
FAQs
- Can one utilize Remote Management inside the Nighthawk App safely?
Yes, as long as you use a strong password and keep firmware updated. Don’t enable it unless you really need it. - Can I access advanced settings from anywhere?
Only if you’ve turned on Remote Management. Otherwise, you’ll need to be on the same WiFi network. - What if the app and browser show different settings?
Always trust the web interface for the deepest settings. The app may simplify or hide advanced options. - Does changing advanced settings affect my extender?
Yes. Be sure to apply similar changes on your Netgear Nighthawk extender to avoid disconnections. - I changed a setting and lost internet—what now?
Try a quick restart. If that doesn’t work, do a factory reset and start over.
