Ductless Mini Split System Installation: A Comprehensive Guide
Due to people’s demand for effective and flexible heating and cooling systems, ductless mini-split systems have become popular as they are efficient and flexible to install and use. Ductless mini splits are different from the conventional HVAC systems since they do not require ducts for the distribution of warm or cool air.
Here are the most important things you should know about the ductless mini-split system installation process and its pros and cons.
1. Understanding Ductless Mini Split Systems
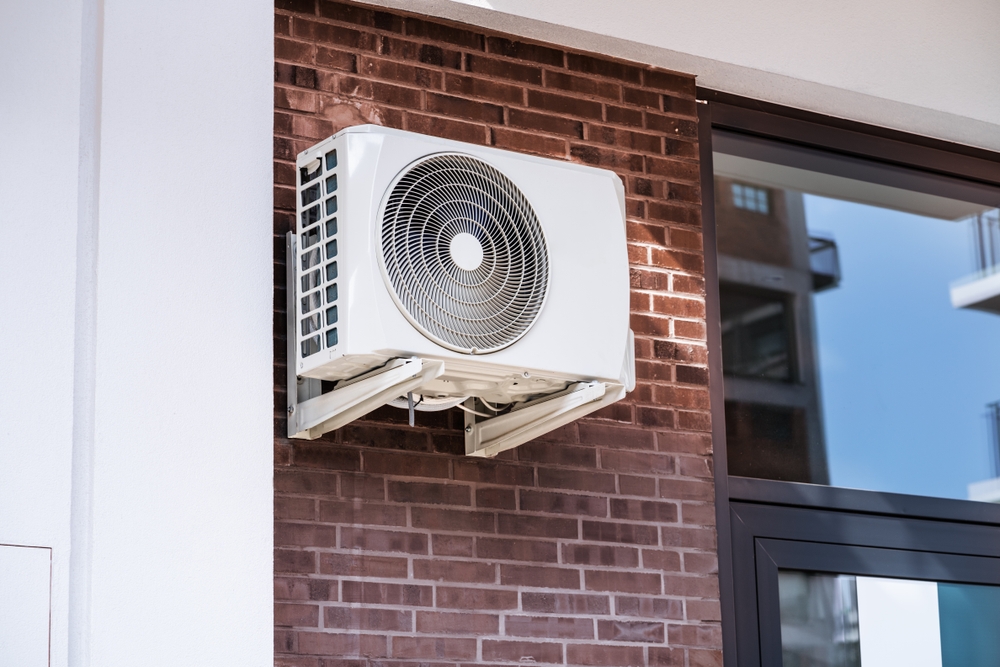
A ductless mini-split system comprises two main components: A system may have one or more outdoor units and one or more indoor units. The outdoor unit comprises the compressor and the condenser, while the indoor units, which are wall-mounted, have the evaporator and air handler. All these units are tied together through the refrigerant lines, electrical wiring, and a condensate drain line.
How They Work
Mini split systems work by moving air between the two units, the indoor and outdoor units. In cooling mode, they take heat from the indoor air and discharge it to the outside world. In heating mode, the process is reversed, and instead of releasing the heat to the outside air, they pull the heat into the room. This process is aided by a refrigerant that moves through the two units.
2. Benefits of Ductless Mini Split Systems
Energy Efficiency
Due to their design, mini-splits are very energy-efficient systems. They have inverter-driven compressors that vary the speed according to the cooling or heating requirement, conserving power and thereby cutting down on utility bills.
Zoned Comfort
Ductless Mini Split Installation in Palo Alto offer zoned comfort. All the indoor units work independently of each other, so you can set different temperatures in different rooms or zones, increasing comfort and minimizing energy consumption.
Easy Installation
Compared to conventional HVAC systems, mini splits are quite easy to install since they do not need a complicated system of ductwork. Since there are no ducts, there are also no energy losses through duct leakage.
3. Pre-Installation Considerations
Assessing Your Home’s Needs
Before considering a mini-split system, it is crucial to determine the home’s heating and cooling requirements. This includes considering the size of the area to be insulated, the quality of the insulation, and the climate of the region. This will assist in identifying the quantities and sizes of the indoor units needed.
Selecting the Right System
In selecting the right mini-split system, one has to determine the suitable capacity for your area, expressed in BTUs. Systems that are too small may not be able to provide comfort, while systems that are too large may cycle on and off frequently and become inefficient. It is recommended that you get professional advice in order to choose the right system for your house.
4. Installation Process
Choosing the Installation Location
Therefore, it is important to choose the right location for both the outdoor and indoor units. The outdoor unit should be installed in a dry area free from obstruction and mounted on a higher level to avoid the risk of flooding. Indoor units are to be mounted on the walls, preferably out of reach of direct sunlight and sources of heat.
Installing the Indoor Units
- Mounting Bracket: Install the mounting bracket onto the wall, which will be the indoor unit’s location.
- Drilling Holes: Make a passage through the wall to pass the refrigerant lines, electrical wiring, and drain pipe.
- Connecting Lines: Pull the refrigerant lines, electrical wires, and drain pipe through the hole and connect them to the indoor unit.
- Mounting the Unit: Ensure that the indoor unit is properly hung on the mounting bracket and that it is well fixed in its position.
Installing the Outdoor Unit
- Positioning: Install the outdoor unit on a proper and flat surface or on a mounting pad.
- Connecting Lines: The refrigerant and electrical connections of the indoor units to the outdoor unit should be made.
- Securing the Unit: To ensure that the outdoor unit does not move around and for proper ventilation, secure the unit.
5. Electrical and Refrigerant Connections
Electrical Connections
Electric connections are vital for the proper functioning and safety of the mini-split system. All wiring must follow the guidelines of the specific region’s electrical codes. This part usually involves linking the indoor and outdoor units to a separate circuit breaker.
Refrigerant Line Connections
It is crucial to correctly fit the refrigerant lines to avoid leakage and guarantee the system’s proper functioning. This is where it is advised to let a professional come in as they have the right equipment and knowledge for a proper vacuum and refrigerant charge.
6. Testing and Final Adjustments
System Testing
After installation, the system has to be put through a series of tests to check that everything is functioning properly. This check involves the inspection of the refrigeration pressure and electrical connections and the units’ reaction to the temperature control.
Adjusting Settings
After the test, it is suggested that the parameters of each indoor unit be set to guarantee its high efficiency. This includes specifying the desired temperatures, fan speeds, and any other programmed times.
7. Maintenance Tips
Regular Cleaning
It is crucial to clean your mini-split system regularly to ensure that it runs efficiently and has a longer lifespan. This involves cleaning or replacing the filters, cleaning the surface of the indoor units, and checking that the outdoor unit is not blocked.
Professional Servicing
Although some of the maintenance tasks may be done by the homeowner, it is recommended that the system be serviced by professionals once a year. A professional can inspect the system, check the refrigerant levels,, and make any necessary changes or fixes.
Conclusion
Ductless mini split system installation is one of the best ways to improve your home’s comfort and energy efficiency. Thus, by knowing the installation process and the factors that should be taken into account, one can achieve a successful installation that will meet one’s heating and cooling needs.
For more information and to schedule a professional service by Finest Heating & Air, the first step towards a more comfortable and efficient home.
Frequently Asked Questions
1. How long would it take to install a ductless mini-split system?
Installation time is also another factor that may depend on the size of the job and the indoor units that have to be installed. In general, a single-zone system can be installed in a day, while multi-zone systems may take several more days.
2. Can I install a ductless mini-split system on my own?
Some homeowners may try to install the system on their own, but this is not advised; it is best done by a professional. Installation is very important to ensure that the appliance works efficiently, safely, and to the required standard as far as warranty is concerned.
3. How much does it cost to install a ductless mini split system?
The prices for installation vary depending on the number of units, the difficulty level of the installation, and the price of labor in the area. On average, the cost for the procedure will range between $2,000 and $7,000.
4. Are ductless mini-split systems noisy?
Mini split systems or ductless air conditioners are less noisy than traditional HVAC systems. The indoor units are rather quiet, which is why they are perfect for bedrooms and living rooms.
5. Are ductless mini splits useful in extreme conditions?
The present ductless mini-split systems are developed to work effectively even in varying temperature conditions. Although, in very cold climates, efficiency may be reduced, and an auxiliary heating system may be needed.
Finest Heating & Air
Address:
2100 Geng Rd Suite 210, Palo Alto, CA 94303, United States
Website:
https://finestheatingnair.com/
Email:
office@finestheatingnair.com
Phone:
(650) 223-2028
Working Hours:
Monday: to Sunday: 8 AM to 6 PM
Saturday: Close
